Makita AN943 Manual do Utilizador Página 1
Consulte online ou descarregue Manual do Utilizador para Ferramentas Makita AN943. Makita AN943 User Manual Manual do Utilizador
- Página / 28
- Índice
- MARCADORES
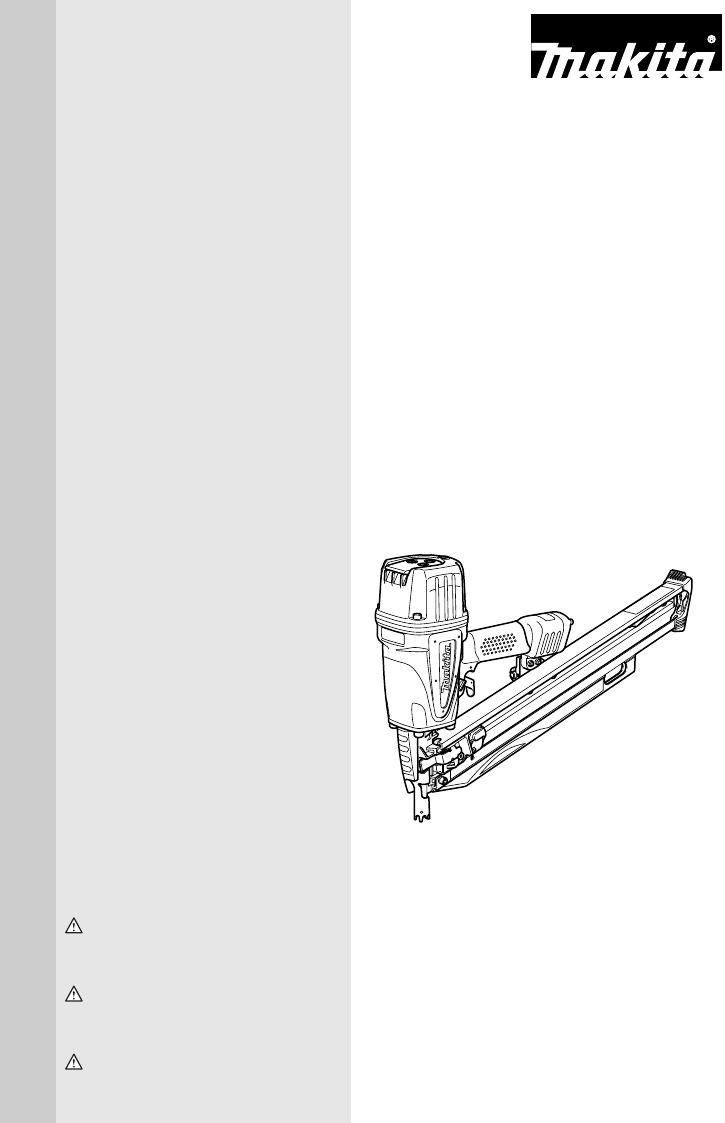
- Pneumatic Framing Nailer 1
- Cloueuse Pneumatique 1
- Clavador neumático de marcos 1
- SPECIFICATIONS 2
- IMPORTANT SAFETY 2
- SAVE THESE INSTRUCTIONS 3
- INSTALLATION 4
- FUNCTIONAL DESCRIPTION 5
- ASSEMBLY 5
- OPERATION 6
- MAINTENANCE 7
- ACCESSORIES 8
- SPÉCIFICATIONS 9
- IMPORTANTES CONSIGNES DE 9
- SÉCURITÉ 9
- CONSERVEZ CES 11
- INSTRUCTIONS 11
- SYMBOLES 11
- DESCRIPTION DU 12
- FONCTIONNEMENT 12
- UTILISATION 13
- ASSEMBLAGE 13
- Cloueuse bloquée 14
- ENTRETIEN 15
- ACCESSOIRES 16
- ESPECIFICACIONES 17
- INTRUCCIONES IMPORTANTES 17
- DE SEGURIDAD 17
- GUARDE ESTAS 19
- INSTRUCCIONES 19
- SÍMBOLOS 19
- INSTALACIÓN 19
- DESCRIPCIÓN DEL 20
- FUNCIONAMIENTO 20
- OPERACIÓN 21
- Clavadora atascada 22
- MANTENIMIENTO 23
- ACCESORIOS 24
- ADVERTENCIA 28
Resumo do Conteúdo
INSTRUCTION MANUALMANUEL D'INSTRUCTIONMANUAL DE INSTRUCCIONESWARNING:For your personal safety, READ and UNDERSTAND before using.SAVE THESE INSTRU
109. Seules les personnes qui participent au travaildoivent se trouver dans l’aire de travail. Lesenfants, tout particulièrement, doivent êtremaintenu
1129. Déconnectez toujours le tuyau d’air et retireztous les clous dans les cas suivants :(1) Lorsque l’outil est laissé sans surveillance.(2) Avant d
12Utilisez un tuyau aussi gros et court que possible pourassurer un clouage continu et efficace. Avec unepression d’air de 5,0 kgf/cm2G (70 PSIG), un
13ASSEMBLAGEATTENTION:• Verrouillez toujours la gâchette et déconnectez letuyau avant d’effectuer tout travail sur l’outil.Chargement de la cloueuseSé
142. Vous pouvez aussi appuyer d’abord sur la gâchettepuis placer l’élément de contact contre la pièce.• La méthode 1 est pour le clouage intermittent
15ENTRETIENATTENTION:• Déconnectez toujours le tuyau avant d’effectuertout travail d’inspection ou d’entretien sur l’outil.Entretien de la cloueuseAva
16Après l’utilisation, videz toujours le réservoir ducompresseur et le filtre à air. L’outil risque de malfonctionner ou de tomber en panne si l’humid
17ESPAÑOLESPECIFICACIONES• Debido a un programa continuo de investigación y desarrollo, las especificaciones aquí dadas están sujetas acambios sin pre
18especialmente cuidado y conserve el equilibrio yuna postura firme.9. Sólo quienes participen en el trabajo debenencontrarse en las cercanías. En esp
19(1) Cuando la herramienta se encuentra sinsupervisión.(2) Antes de realizar cualquier reparación omantenimiento.(3) Antes de limpiar algo que quedó
2ENGLISHSPECIFICATIONS• Due to our continuing programme of research and development, the specifications herein are subject to changewithout notice.• N
20Cómo seleccionar una manguera de aireUse una manguera de aire tan larga y tan corta comofuera posible para garantizar un clavado continuo yeficiente
21PRECAUCIÓN:• Siempre bloquee el gatillo y desconecte lamanguera de la herramienta.• Nunca enganche la herramienta en un lugarelevado o en una superf
221. Para impulsar un clavo, puede colocar el elementode contacto contra la pieza de trabajo y tirar delgatillo o2. Tirar del gatillo primero y luego
23ClavosManipule las bobinas de clavos y sus cajas con cuidado.Si las bobinas de clavos se manipulan sin cuidado,pueden perder la forma o romperse sus
24Mantenimiento del compresor, juego de aire o manguera de aireLuego de utilizarla, vacíe siempre el tanque delcompresor y el filtro de aire. Si permi
25
WARNINGSome dust created by power sanding, sawing, grinding, drilling, and otherconstruction activities contains chemicals known to the State of Calif
3portion of the tool operating controls is inopera-ble, disconnected, altered, or not working prop-erly.12. Operate the tool within the specified air
4SYMBOLSUSD501-1The followings show the symbols used for tool...Read and understand tool labels and manual...Opera
5FUNCTIONAL DESCRIPTIONCAUTION:• Always lock the trigger and disconnect the hosebefore adjusting or checking function on the tool.To adjust the depth
6Connecting air hoseLock the trigger. Slip the air socket of the air hose ontothe air fitting on the nailer. Be sure that the air socketlocks firmly i
7CAUTION:• Always lock the trigger, disconnect the hose andremove the nails from the magazine before clean-ing a jam.When the nailer becomes jammed, d
8Maintenance of compressor, air set and air hoseAfter operation, always drain the compressor tank andthe air filter. If moisture is allowed to enter t
9FRANÇAISSPÉCIFICATIONS• Le fabricant se réserve le droit de modifier sans avertissement les spécifications.• Note: Les spécifications peuvent varier
Manuais e produtos relacionados com Ferramentas Makita AN943
 (2 páginas)
(16 páginas)
(3 páginas)
(2 páginas)
(2 páginas)
(16 páginas)
(3 páginas)


 (48 páginas)
(3 páginas)
(3 páginas)
(16 páginas)
(2 páginas)
(16 páginas)
(16 páginas)
(16 páginas)
(3 páginas)
(32 páginas)
(2 páginas)
(24 páginas)
(3 páginas)
(1 páginas)
(4 páginas)
(48 páginas)
(3 páginas)
(3 páginas)
(16 páginas)
(2 páginas)
(16 páginas)
(16 páginas)
(16 páginas)
(3 páginas)
(32 páginas)
(2 páginas)
(24 páginas)
(3 páginas)
(1 páginas)
(4 páginas)
© 2020, manymanuals-pt.com. Todos os direitos reservados. | 0.047 s |
 Manymanuals.com
 Manymanuals.de
 Manymanuals.fr
 Manymanuals.it
 Manymanuals.pl
 Manymanuals.cz
 Manymanuals.es
 Manymanuals-pt.com
Comentários a estes Manuais